How to Bake the Perfect Cake
March 14, 2021
Have you ever bitten into a piece of cake and thought about how good it was? What makes a cake taste good? How is a cake made? The creation of a cake is separated into two categories: baking and decorating. Baking the cake involves following directions carefully to ensure that the cake comes out well. While decorating the cake requires some directions for creating the icing, it is mainly focused on creativity. These steps are very different from each other, but both are equally necessary.
Baking the Cake
The first step to creating a cake is choosing what kind of cake you want to make and then finding a recipe for it. It is crucial that you find a good recipe because, as said on goodfoods.com, “Your cake will only ever be as good as the recipe you use”. If a poorly written recipe is chosen, the cake will not turn out well, no matter how close the directions are followed. The cake that I made follows a recipe from preppykitchen.com.
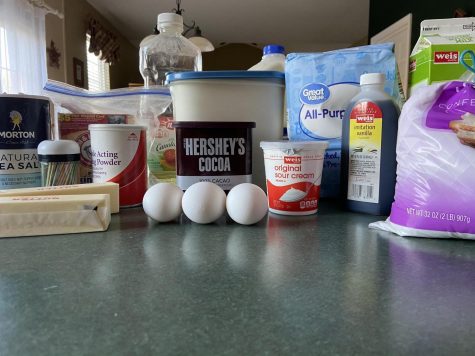
Once a recipe has been chosen, it is important to gather the ingredients. This step helps prevent emergency trips to the store. You can see what you have and what you need before you start. My cake required ½ cup sour cream, 1 cup buttermilk, 3 large eggs, ¾ cup vegetable, 1 ½ cup hot water, 1 tbs vanilla extract, 3 cups all-purpose flour, 2 ⅔ cup granulated sugar, ½ cup cocoa powder, 1 ½ tsp baking powder, 1 tbs baking soda, and 1 tsp kosher salt. Most cakes require similar ingredients, but make sure to refer back to your recipe. 
Throughout the whole process of baking your cake, following the directions is crucial. Kerri Piper, a senior at Pennridge who enjoys baking in her free time, stressed that “with baking, you should really stick with what the recipe says until you know the ins and outs”. She added that baking is different from cooking. Adding or changing ingredients before you really know what you are doing could make the cake turn out poorly. Cookinglight.com discusses how “a cake is essentially a chemistry experiment”. Every ingredient that is added has a different purpose and contributes to the reaction that is the cake. Once you become more skilled in baking, you can start playing with ingredients, but it is important to stick to the recipe when you are just beginning!
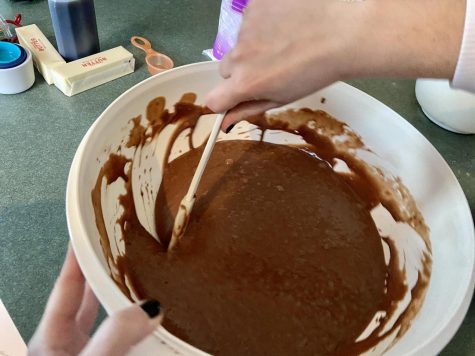
After the ingredients are set aside, it is time to start mixing. This is also a good time to start preheating your oven. While every recipe is different, there is a common theme throughout many of them; they usually begin with the mixing of all of the dry ingredients, follow with the mixing of the wet ingredients, and then combining them together in a mixing bowl. My recipe called for the mixture of flour, sugar, cocoa powder, baking powder, baking soda, and kosher salt, and then the combination of sour cream, buttermilk, eggs, hot water, vegetable oil, and vanilla extract. Finally, add the wet ingredients in with the dry and combine them using a whisk or hand/stand mixer.
The mixing process is an important step to make sure that the flavor of the cake is uniform, and that all of the ingredients are spread evenly throughout the batter. Piper mentioned that sifting the dry ingredients before mixing in the wet can help prevent having chunks of flour in your finished product. Pennridge Junior Adriana Gonsalves, who is currently co-oping at The Novel Baker in Dublin commented on this process saying, “The hardest part about baking a cake is making sure all of the ingredients are incorporated.” To solve this problem, she suggested scraping the bowl to the bottom after every incorporation of an ingredient to get all of the excess ingredients out and to fully mix them into the batter.
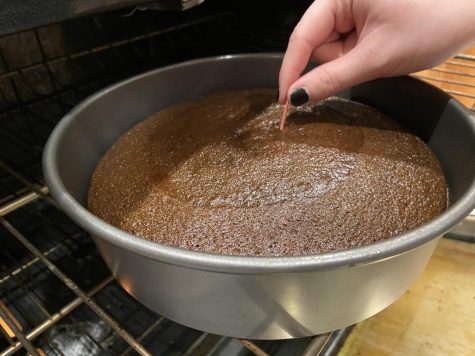
Once the mixing is complete, the batter can be poured into a greased pan and put into the oven. Greasing the pans beforehand with butter helps make it easier to take the finished cake out of its pan. Follow the baking time instructions, but make sure to check on your pans every once and a while to make sure that the baking is going smoothly. Piper said that she turns the pans at the halfway mark to make sure that they cook evenly. When you think that your cakes are done, stick a toothpick in the center; a clean toothpick means that they are ready to be taken out!
Decorating the Cake
Decorating a cake is very different from baking one. This part of the process allows for more creativity and does not revolve around following instructions. For those that do not want to go all out, a simple layer of store-bought icing can do the job. Just make sure that the cake is fully cooled before beginning! If you are interested in more elaborate decor, it can be more intensive.
The first step is optional, making the icing! As with the baking portion, every icing has its own recipe. The one that I followed is a simple buttercream from allrecipes.com. The recipe calls for the creaming of butter in a mixer, and then slowly adding in confectioner’s sugar and vanilla extract. If you plan to use multiple colors, separate the amounts for each color that you will need and add in food coloring. Make sure to leave enough plain icing for the next step!
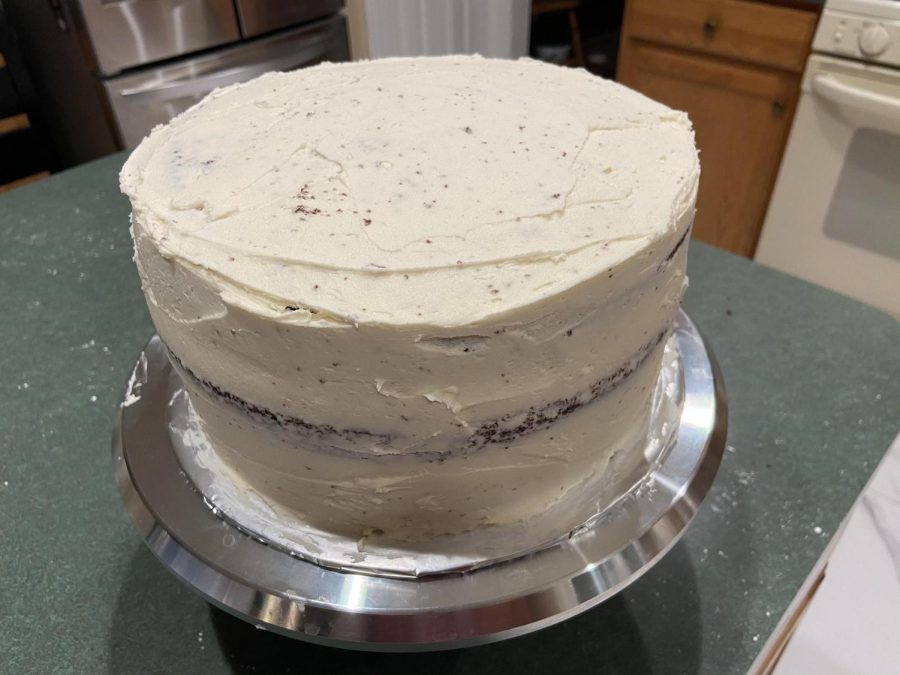
The next step is one called crumb-coating. This is the process of putting your cake layers together, and then putting a base coat of icing on top. According to sugarandsparrow.com, “Not only will this prevent crumbs from getting into your final layer of frosting, it also helps to create a stable foundation for your final layer of frosting.” This process is really quick and easy, but has a huge impact on the cake. “Once you’ve basically done that one aspect of the cake, then it’s all up to you what you want to do,” said Gonsalves. This is the part of baking that she loves the most because “it gives you so much creativity and so much freedom as to what you want to do.” Decorating a cake allows you to personalize your cake and make it your own.
No matter what kind of cake you make, or how you decorate it, make sure to take a step back once you finish, and acknowledge the fact that you did it! You just baked a cake!


